Fun Times in Natural Resources
February 11, 2020
Throughout NUHS, almost every classroom you walk into during school hours will have the same common view. Students sitting at their desks with the typical school supplies such as a book, folder, notebook, pencil, and so on. However, if you venture to the end of the Ag wing and peek inside of Mr. Nelson’s classroom the last few weeks of the semester, you will see a much different view. All the students have a wooden jig in front of them with a spool of thread on it that is strung through a wire arm that leads to the kids’ prized project… a fishing pole.
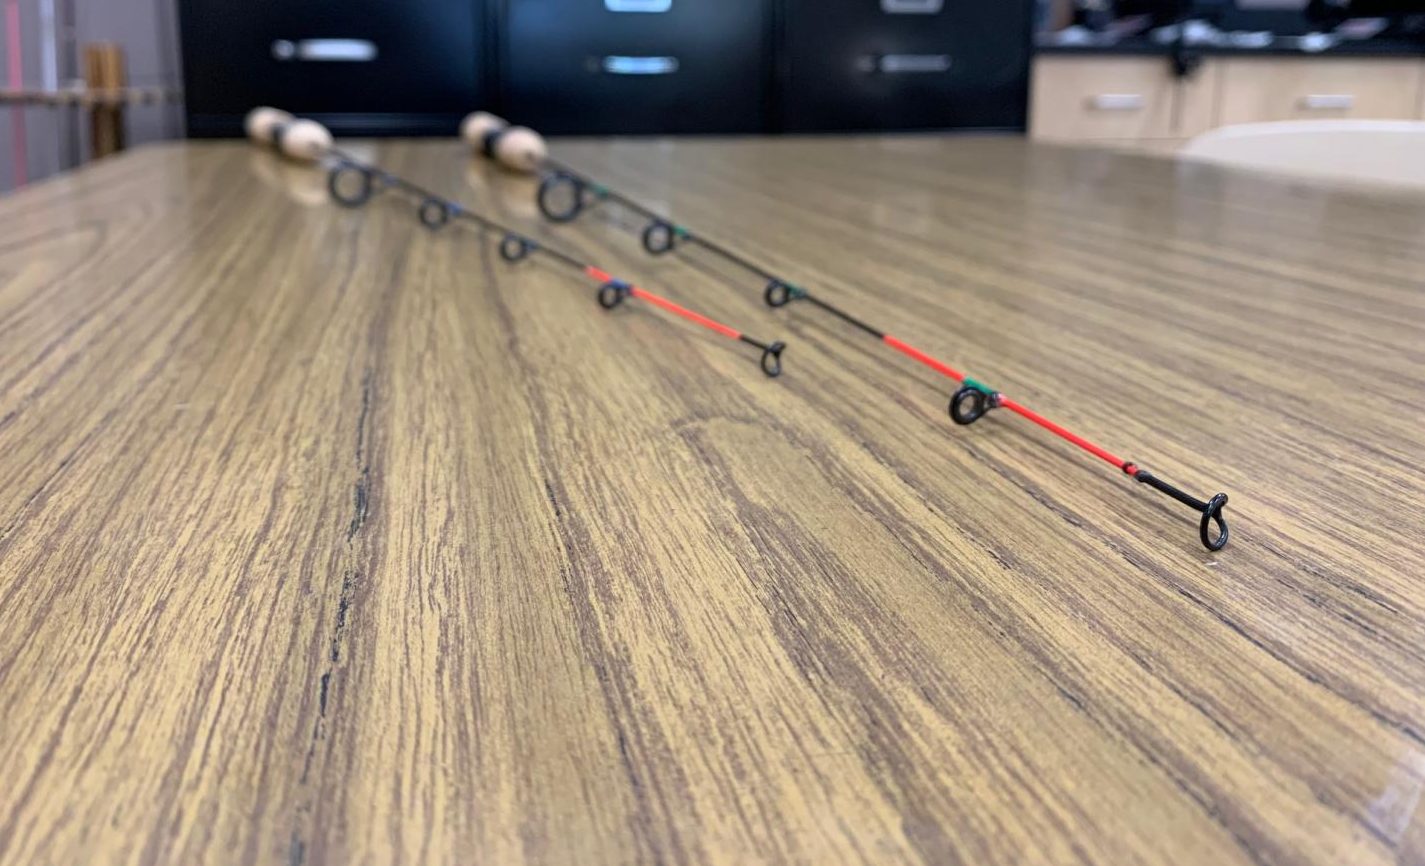
The students are given multiple options of what style pole they want to construct. The two main categories of poles they can select from are either an ice fishing rod or a full-size rod. Within these two categories are multiple options consisting of rod material, length, and action. Most of the students in Mr. Nelsons Natural Resources class made ultra-light ice fishing rods because he recommends students learn the ropes of building rods before taking on the challenge of building a full-size rod, which he recommends doing in the class Advanced Natural Resources.

However, some students who felt more confident and/or would rather have a full-size rod decided to take on the task. With the full-size rods, there are many more eyelets that need to be tied on and more prep work required for the handle and grip compared to the ice rods. Although there is more work with the full-size rods, they have many more options for pole size and thread-pole color combos.
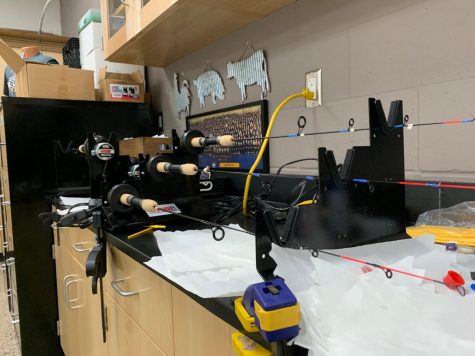
After students construct their grips and tie all their eyelets on, the final step is to put the pole in a “rod spinner” and apply a clear epoxy to the threading to harden the threads and keep all the eyelets in place. After the epoxy is applied, the students let their rod sit and dry in the rod spinner, which keeps the rod rotating at a constant speed to make the epoxy dry consistently.
Once all of these decisions and steps have been completed, the students have their own hand-crafted fishing pole to hit the ice or open water.